
Today, we’re embarking on a journey into the art of making your very own clothes. Crafting your attire is not only a satisfying endeavor but also an excellent way to express your unique style.
To craft your own cloth, gather fabric, tools like scissors and a sewing machine, and choose a pattern. Cut the fabric, stitch with precision, and add personal touches for a unique garment. Mastery in fashion awaits your creative hands.
In this article, grab your sewing kit and let’s dive into the fascinating world of fashion and DIY clothing.
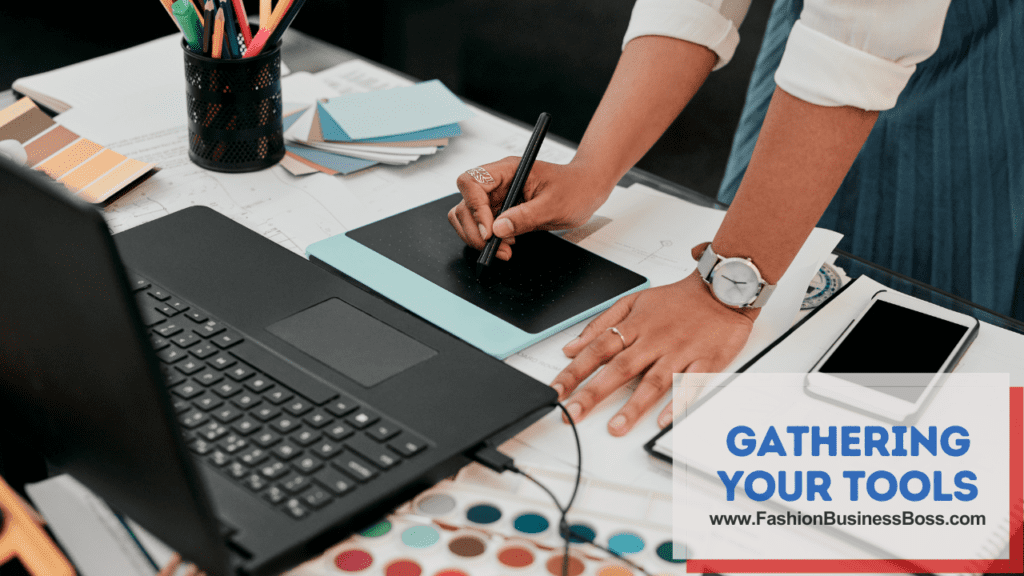
Gathering Your Tools
Before we start stitching, let’s ensure we have the necessary tools in our creative arsenal:
1. Sewing Machine or Needle and Thread
The choice between a sewing machine and needle and thread is pivotal in your clothing creation journey. A sewing machine offers efficiency and speed, making it an excellent choice for larger and more intricate projects. It allows you to create precise and consistent stitches, which is particularly beneficial for professional-looking results. However, mastering a sewing machine might require some practice, especially if you’re a beginner.
On the other hand, the classic needle and thread approach embodies tradition and craftsmanship. It allows for a more hands-on and personalized touch to your creations. Hand-sewing is perfect for delicate fabrics or when you desire a slower, more contemplative pace. While it may take longer, the control it offers over each stitch can result in a truly unique and artistic garment.
Ultimately, the choice between these two methods depends on your skill level, the complexity of your project, and your personal preferences as a clothing artisan.
Read more about: Fashion Forward: Starting Your Clothing Brand the Right Way
2. Fabric
Selecting the right fabric is akin to choosing the canvas for your artistic masterpiece. The material you pick plays a crucial role in the look, feel, and durability of your garment. Let’s explore some popular fabric options:
Cotton: Known for its breathability and versatility, cotton is a favorite among DIY clothing enthusiasts. It’s comfortable to wear, easy to work with, and comes in a wide range of colors and patterns. Ideal for casual wear and summer garments.
Linen: Linen exudes a natural, rustic charm. It’s prized for its exceptional breathability and moisture-wicking properties, making it an excellent choice for warm-weather clothing. Be prepared for some wrinkles, as linen tends to crease easily, adding character to your creations.
Silk: The epitome of elegance and luxury, silk lends a luxurious sheen to your garments. It drapes beautifully and feels divine against the skin, making it suitable for special occasions and formal wear. However, silk can be delicate and requires careful handling during both sewing and cleaning.
Denim: If you’re aiming for a rugged, timeless look, denim is the way to go. Known for its durability, denim is perfect for crafting jeans, jackets, and other sturdy pieces. It can withstand repeated wear and washing while developing a unique patina over time.
3. Scissors
Investing in a pair of high-quality fabric scissors is a crucial step in your clothing-making journey. These specialized scissors are designed with ultra-sharp blades that effortlessly cut through fabric without causing fraying or uneven edges. It’s imperative to reserve these scissors exclusively for fabric to maintain their sharpness and precision.
A good pair of fabric scissors will make a significant difference in the accuracy and neatness of your cuts, ultimately contributing to the overall quality of your handmade garments.
4. Patterns
Patterns serve as your roadmap in the world of clothing creation. You can find patterns in various sources, including sewing books, online resources, or even by designing your own for more advanced projects.
Sewing patterns consist of detailed instructions, templates, and diagrams that guide you through the entire garment-making process. They specify the fabric requirements, cutting layouts, and step-by-step sewing instructions, making them indispensable for both beginners and experienced sewers.

When selecting or creating patterns, consider your skill level and the complexity of the garment you intend to make. Starting with simpler patterns and gradually progressing to more intricate designs is a wise approach for skill development.
5. Pins and Needles
Pins and needles are the unsung heroes of clothing creation, serving as your invisible assistants throughout the sewing process. They play a vital role in securing fabric layers together before sewing, ensuring precise alignment and preventing shifting.
Pins come in various lengths and styles, including straight pins and safety pins. They are used to hold fabric pieces together temporarily, allowing you to sew along the designated seam lines accurately. Safety pins, in particular, are useful for securing layers of thick or slippery fabrics.
Needles, on the other hand, are responsible for piercing through the fabric and creating stitches. They come in different sizes and types to accommodate various fabrics and sewing techniques. For instance, ballpoint needles are suitable for knit fabrics, while sharp needles work well with woven materials.
Read more about: Fashion from Scratch: Make and Sell Your Own Clothes
6. Measuring Tape
In the realm of clothing creation, precision reigns supreme, and accurate measurements are the foundation of a well-fitting garment. A measuring tape is your trusty companion in this regard.
Measuring tapes come in flexible, retractable forms, allowing you to take precise measurements of your body and fabric. Whether you’re determining your waistline, inseam, or the length of a garment, a measuring tape ensures that your creations fit perfectly.
It’s essential to handle the measuring tape gently to avoid stretching or distorting it, as accuracy is key to achieving a tailored fit. With this versatile tool in your creative arsenal, you’ll be well-equipped to bring your clothing visions to life with precision and confidence.
Selecting a Pattern
With your essential tools at the ready, the next step is selecting a pattern—a crucial aspect of your clothing-making journey. Think of a pattern as the guiding blueprint for the clothing piece you intend to craft. These patterns are available in a range of complexities, catering to individuals with varying levels of sewing experience.
If you’re just beginning your sewing adventure, it’s wise to commence with a pattern suited for beginners. Consider starting with straightforward projects, such as a basic skirt or a pillowcase. These simple patterns serve as an ideal starting point, allowing you to familiarize yourself with the sewing process and build your confidence.
As you gain proficiency and comfort in sewing, you can gradually progress to more intricate patterns. These might involve intricate designs, detailed instructions, and a greater degree of sewing skill. Selecting a pattern appropriate for your current skill level ensures a smoother and more enjoyable clothing-making experience.
Cutting and Preparing the Fabric
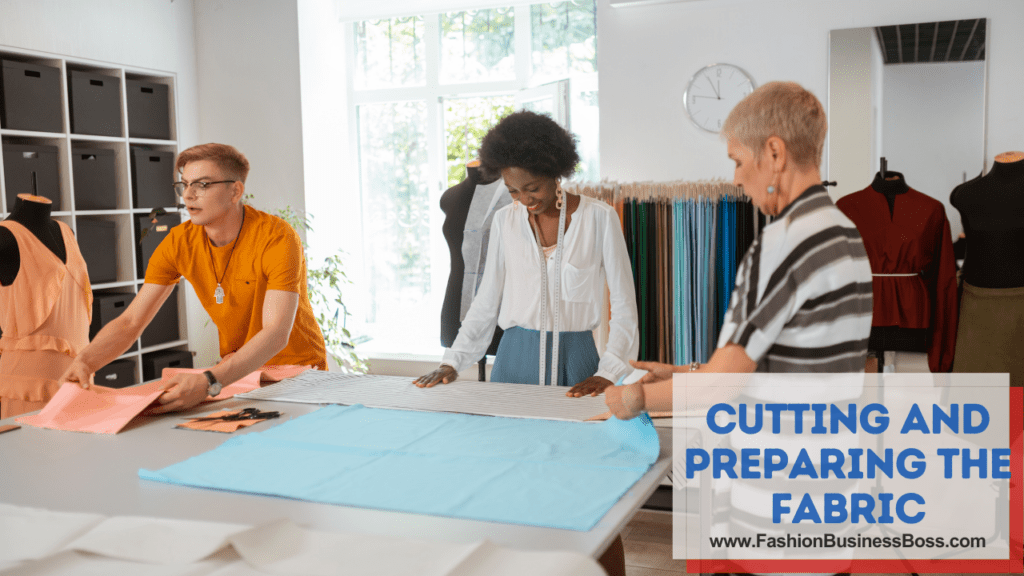
When it comes to preparing fabric for your sewing project, the process can be broken down into a few simple steps.
First, find a clean and roomy surface to work on. Lay your fabric out flat, making sure it’s free from any wrinkles or folds.
Next, take your pattern pieces and place them on the fabric as per the provided instructions. Pay close attention to the grainline mentioned in the guidelines; this is crucial for the final fit and how the fabric hangs when the garment is finished.
To secure the pattern in place, use pins to attach it to the fabric. Ensure the pins go through both the pattern and the fabric.
With your pattern securely in place, carefully cut along the edges of the pattern pieces. Take your time to make precise cuts, as this will impact the overall quality of your project.
Lastly, if there are any markings like darts, notches, or pleats on the pattern, be sure to transfer them accurately onto the fabric. This step ensures that your sewing will be on point, and your finished piece will come together as intended.
Read more about: Fashioning a Brand: Determining Startup Costs
The Art of Stitching
This is where your sewing prowess shines. Follow these steps to bring your creation to life:
1. Seam Allowance
The first step is to pay close attention to the seam allowance specified in your pattern instructions. Seam allowance refers to the distance between the edge of your fabric and the line where you’ll be stitching. It might seem like a minor detail, but it’s incredibly important for achieving the right fit for your project. An accurate seam allowance ensures that your garment will come together precisely as designed, without any unnecessary tightness or looseness. It’s the foundation upon which your creation’s structure relies.
2. Stitching
When it comes to stitching, simplicity often reigns supreme. For most seams, a straight stitch is your trusty companion. It’s the workhorse of sewing, offering reliability and durability. Don’t forget to start and finish each seam with a backstitch; this small step secures your stitches, preventing unraveled seams that can lead to frustration later on. However, in situations where you’re dealing with curves or delicate fabrics, consider the versatility of a zigzag stitch. This stitch allows the fabric to flex and move more freely, preserving the integrity of your creation while adding a touch of finesse to your craftsmanship.
3. Pressing
Now, let’s talk about the magic of pressing. After sewing each seam, it’s essential to give it a little love with an iron. Follow the pattern’s instructions on whether to press the seams open or to one side. Pressing not only flattens the seams, eliminating any unsightly wrinkles or bulges, but it also sets them in place. This act of pressing is akin to sculpting; it shapes your garment with a refined touch, giving it that polished and professional appearance that separates a handmade masterpiece from the ordinary.
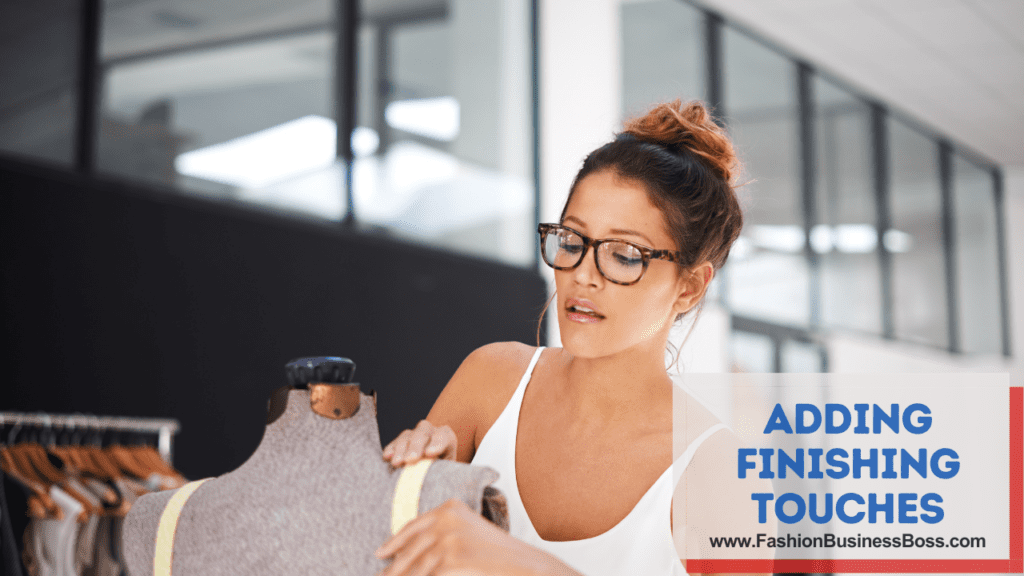
Adding Finishing Touches
Your garment is nearly complete, but don’t forget these final steps:
1. Hemming
The act of hemming is where you give your creation its final polished edge. It’s not just about preventing fraying; it’s about crafting a clean, neat finish that showcases your attention to detail. As you approach this step, consider the width of your hem carefully. The pattern you’ve been diligently following might offer guidance, but personal preference also plays a role. A narrower hem can lend a sleek and modern look, while a wider one can exude a touch of vintage charm. The precision required in folding and sewing those raw edges is where your craftsmanship reaches its zenith. Each stitch, each fold, contributes to the overall elegance of your garment, making it a true reflection of your dedication to the craft.
Read more about: From Concept to Closet: Launching Your Clothing Brand the Right Way
2. Fastenings
Adding fastenings, whether zippers, buttons, or snaps, is akin to adding the final brushstrokes to a masterpiece. This is where your keen attention to detail truly shines through. Each fastening is not just a functional element but a design choice that can accentuate the overall aesthetics of your creation. The alignment of buttons, the smooth glide of a zipper, or the satisfying snap of snaps, all play a pivotal role in the functionality and visual appeal of your garment. Precision is your ally here, ensuring that every fastening is not only secure but also aligns seamlessly with the garment’s design.
3. Fitting
As you near the finish line, the fitting stage becomes paramount. Trying on your creation is a moment of truth. It’s where your skill and patience culminate, but also where the potential for minor imperfections might reveal themselves. Remember, Master, that practice makes perfect. Don’t be disheartened by any minor adjustments that may be necessary. In fact, these adjustments are the hallmark of a dedicated and evolving sewist. They are the stepping stones to mastery, teaching you to fine-tune your craft with each project. Embrace this part of the process with an open mind, for it is the pathway to achieving garments that fit
flawlessly and reflect the best of your abilities.
Personalization and Creativity
The beauty of making your clothes is the freedom to infuse your personality and creativity into every piece. Experiment with different fabrics, colors, and embellishments to make your creations uniquely yours.
Conclusion
Creating your clothing is a fulfilling endeavor. With the right tools, patience, and a touch of creativity, you can craft garments that reflect your individual style and personality. So, go ahead, sew your heart out, and let your fashionista flag fly high.
Frequently Asked Questions

Q: Can one create their clothes as a beginner?
A: Yes, crafting one’s clothes is achievable for beginners, starting with simpler patterns and progressing with experience.
Q: Which fabrics are suitable for DIY clothing?
A: Fabrics such as cotton, linen, silk, and denim work well, depending on the desired garment’s look and feel.
Q: Is a sewing machine necessary for making clothes?
A: While a sewing machine can expedite the process, hand-sewing remains an option, depending on personal preference and project complexity.
Q: How can I find the right sewing pattern for my project?
A: Sewing patterns are available in books, online, or can be created. The choice should consider both skill level and the intended garment.
Q: What are typical finishing touches for homemade clothing?
A: Common finishing steps include hemming to prevent fraying, adding fastenings like buttons or zippers, and ensuring a proper fit through adjustments in DIY clothing projects.
To learn more about starting your own clothing business, check out my startup documents here.
Please note that the contents of this blog are for informational and entertainment purposes only and should not be construed as legal advice. Any action taken based on the information provided in this blog is solely at your own risk. Additionally, all images used in this blog are generated under the CC0 license of Creative Commons, which means they are free to use for any purpose without attribution.

Meet Shawn Chun: Entrepreneur and Fashion Business Fan.
I’m a happy individual who happens to be an entrepreneur. I have owned several types of businesses in my life from a coffee shop to an import and export business to an online review business plus a few more and now I create online resources for those interested in starting new ventures. It’s demanding work but I love it. I do it for those passionate about their business and their goals. That’s why when I meet a designer or boutique owner at a craft fair, farmers market, retail location or anywhere else I see myself. I know how hard the struggle is to retain clients, find good employees and keep the business growing all while trying to stay competitive.
That’s why I created Fashion Business Boss: I want to help fashion business owners like you build a thriving business that brings you endless joy and supports your ideal lifestyle.